The roll-up of CRM Online 2015 Update 1. One of my favourite features is the ability to customise the colour scheme of CRM Online and add your company logo.
With little effort, you can add great value to your own organisation, a customer demo or any CRM project which makes use of Update 1.
If you don’t have CRM Online 2015 Update 1 already, you may need to approve the update in CRM Online Administration Centre via Office 365.
Make the Logo
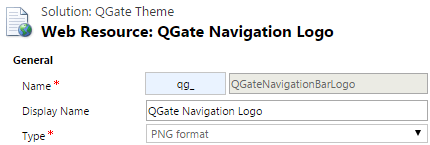
The first thing to do is create the logo. The maximum size is 400 x 50 pixels. I generally use PNG for my logos but you can use JPG or GIF. Add the new logo as web resource.
Top Tip
To bring the logo away from the edge, add a thin border to the logo. It only needs to be 1 or 2 pixels thick and can be the same colour as the background.
Create a Custom Theme
Open CRM Online and browse to Settings > Customizations > Themes. Leave the default theme as it is and create a new theme.
Top Tip
Don’t create a new theme from scratch. This can prove tricky and result in something ugly. Instead, make a clone of the default theme and only make one change at a time. If it doesn’t look good then change it back.
Publish the Theme
Now you are ready to publish the theme. In this theme, I changed the navigation bar colour and the header colour.
For more information, check our website or email us with any questions at info@qgate.co.uk


