- Knowledge Base
- How-to
- How to publish a Dynamics 365 dashboard with Power BI

Article sections
| Summary: | This article takes you through the steps required to publish a dashboard into Dynamics 365 with a Power BI desktop report |
| Article Type: | Information / How To |
| Related Product(s): | This article relates to the following products:
|
| Related Articles: |
|
Power BI: Publishing a Dashboard into Dynamics 365 starting with a Power BI Desktop Report
The instructions below assume that as an organisation Power BI Pro is enabled and that the setup user and all the users with whom the dashboards are to be shared have had a Power BI Pro licence assigned.
- Open Power BI Report using Power BI Desktop
- On main ribbon click on “Publish”
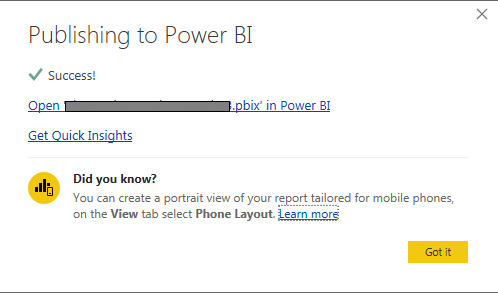
- Select My workspace (unless you need the report published to a specific Workspace) > Select
- A confirmation message should appear
- Login to Power BI online
- Navigate to the newly published Report and open
Information:
It is possible to setup a Dashboard made up of a selection of objects from pages across the report or publish a single page of the report. These instructions cover publishing a single page of the report.
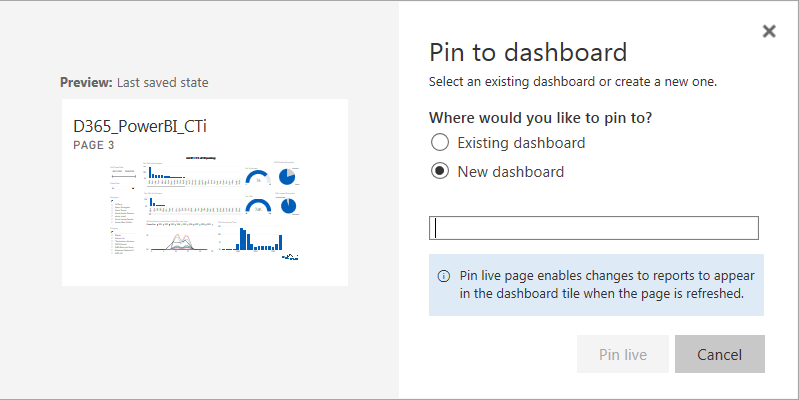
- Click on “Pin Live Page”
- Select the radio button alongside “New dashboard”
- Provide a name for the new dashboard > Pin Live
- Navigate to the new dashboard
- Click on “Share”
- In the “Grant access to” box type in the team or individuals’ names with whom the dashboard should be shared
- Choose whether to keep the check boxes underneath ticked.
“Allow recipients to share your dashboard”
“Send email notification to recipients” Note: The dashboard is not yet available to them within Dynamics 365 - Open Dynamics 365
- Navigate to Dashboards
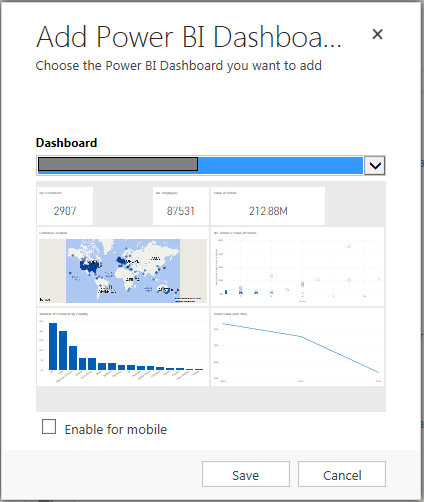
- New > Power BI Dashboard
- Select the correct dashboard from drop down list
- If you want the dashboard enabled for mobile, check the box > Save
- Depending on your browser an F5 to refresh the view may be necessary
- Navigate to the newly added dashboard
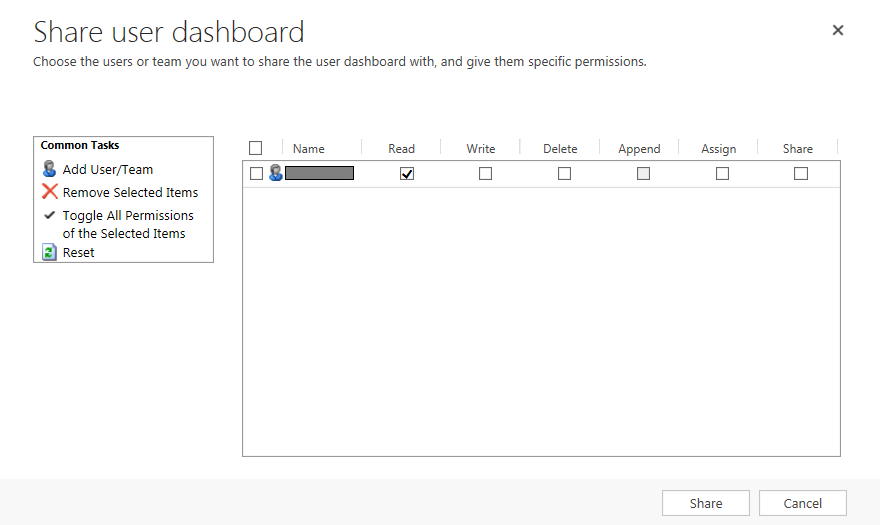
- Click on “SHARE DASHBOARD” menu item above the dashboard
- Click on “Add User/Team”
- Select users with whom access is to be granted > Add
- Use check boxes to specify level of permissions to be granted > Share
- Complete! The dashboard should appear in the dropdown list for those users selected in steps above.
Related Articles
- How to: Creating a "Run Once" Daily Trigger using Power Automate
- How-to: Microsoft Dynamics 365 System Backups
- How to check your Microsoft storage use
- Create Custom Reusable Controls in PowerApps
- Microsoft Flow FAQ
- Modifying Silently in Dynamics 365
- Creating Microsoft Dynamics 365 Workflows Tips
- Adding PowerApps to Dynamics 365
- How to add new Entities
- Creating a non-interactive user in Dynamics 365


